- Ultrasonic sensors
- Setup and support
- Device configuration
Ultrasonic sensor device configuration
The following will guide you through key programming steps for the ultrasonic sensors. We highlight the features used most often here. Refer to the Operating Instructions manual and the Info Card found under the “Downloads” tab at the product datasheet page for more details on programming the sensors and other features.
The information on this page refers to setup using pushbuttons on the device. Some ultrasonic sensors are IO-Link enabled. For those sensors, configuration can be accomplished either with pushbuttons or IO-Link.
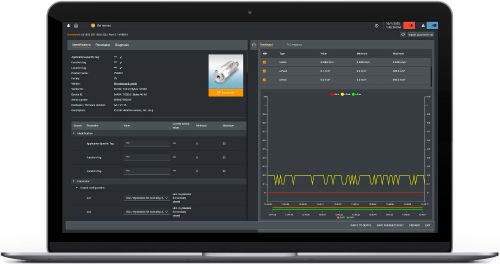
moneo | configure provides easy programming on a laptop
moneo | configure is a user-friendly software package that enables easy programming and visualization of all ifm IO-Link enabled sensors (V1.0 and V1.1) as well as other manufacturers' IO-Link enabled sensors (V1.1). The software can be downloaded here: moneo | configure.

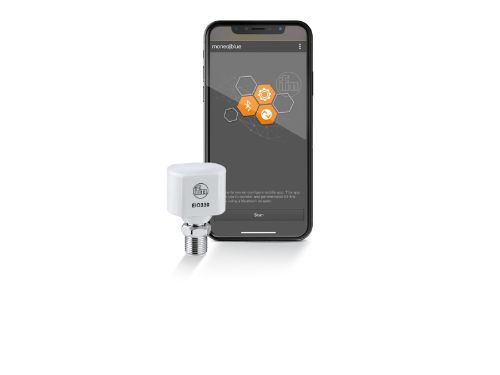
moneo | blue allows configuration in the palm of your hand
moneo | blue is an app that runs on your Apple or Android smart phones and provides access to all parameters, process values and diagnostics from all sensors connected to an IO-Link master. The Bluetooth™ adapter, EIO330, connects to one port of the IO-Link master and the app can be downloaded free of charge from the Apple App Store or from Google play.

Visual indications
- 1/2: yellow LEDs indication status -- output indication and setting aid
- 3 : green LED echo indication -- turns on when object or background is detected
- 4: teach button
Switchpoint setting
- Press and hold teach button for 2...6 sec until LEDs 1/2 start to flash at 1 Hz.
- Position target and press the teach button for 1 sec until LEDs 1/2 flash at 2.5 Hz.
- For 2 setpoint applications (i.e., window function), move the target to the second point and press the teach button for 1 sec. LEDs 1/2 flash briefly for 4 Hz.
| Sensor type | Parameter | Value | Description |
|---|---|---|---|
| UGT / UIT | Background suppression |
|
|
| UGT / UIT / UGR | SSC1 config logic |
|
|
| UGT / UIT | SSC1 config mode |
|
Behavior of the output
|
| UGT / UIT / UGR | SSC1 config hyst |
... mm | Hysteresis setting |
| UGT / UIT / UGR | SSC1 switch-on delay | ... ms | Adjustable start-up delay up to 2000 ms |
| UGT / UIT / UGR | SSC1 switch-off delay | ... ms | Adjust switch-off delay up to 2000 ms |