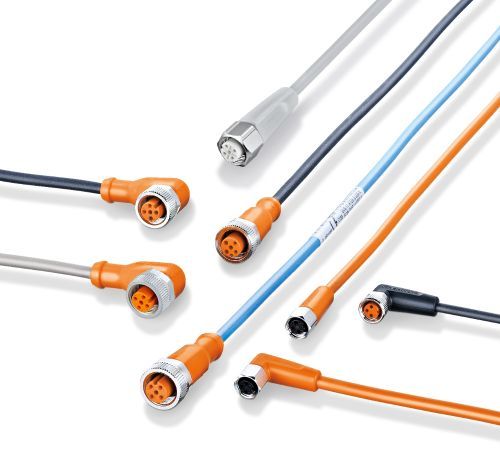
- Connection technology for industrial automation
- Installation guidelines
Installation guidelines for industrial automation cordsets
On the following pages, you will find information to achieve a secure and reliable seal between your sensor and the ecolink cordset, as well as answers to frequently asked questions. Please reference the guidelines below.
For insights into the rigorous testing and performance standards our ecolink connectors undergo to ensure durability and reliability in industrial environments, please refer to the Testing & Performance section.
Should you need additional support, feel free to contact our service center at 800-441-8246 and speak to one of our application engineers.
Attachment instructions
- Align the arrow: The arrow on the connector head marks the A-coded keyway. Line it up with the key on the sensor for proper positioning.
- Tighten the coupling nut: Use a torque wrench to tighten the nut to between 0.6 Nm (hand-tight) and 1.5 Nm. Be careful not to overtighten.
- Extra tightening for harsh environments: In exceptionally demanding conditions, use a 14 mm wrench to tighten the coupling nut one additional notch for added security.
Removal instructions
Because the coupling nut is designed to lock-in-place, the cordset remains securely attached under normal conditions.
- Push the connector: Gently push the connector toward the sensor.
- Loosen the coupling nut: While holding the connector in place, turn the coupling nut to release the lock and detach the cordset.
Installation in confined spaces:
For installations in confined areas, ifm has developed the E12078 mounting tool to streamline installation and removal, particularly around wiring blocks.
The E12078 mounting tool features a 14 mm flat wrench and an open tube through which the cable is fed. This design allows users to safely and easily manipulate coupling nuts in tight applications.
Additional installation accessories
E70390 - Torque wrench (0.6 - 2.6 Nm)
E11952 - Wire stripping tool
Note: Standard EVS cables are designed for easier cable stripping.
Wireable installations for customizable cable lengths
ifm offers a wide range of cable solutions designed to meet the diverse needs of automation applications. For custom lengths, ifm supplies field-wireable connectors, ensuring robust and reliable connections in all industrial environments.
Explore ifm's selection of female and male field-wireable connectors designed for flexibility and durability.
Installation steps:
- Choose the correct housing: Select from industrial or food-safe product lines, with straight or angled designs, based on your application needs.
- Prepare the cable: Carefully strip the cable jacket to avoid damaging the internal conductors. To do so, ifm offers E11952, which is designed to ensure proper preparation.
- Connect the conductors: Match the wire colors to the corresponding pin configuration using the internal screw terminals.
- Secure the housing: Tighten the locking mechanism to ensure proper strain relief and maintain seal integrity.
- Test the connection: Verify continuity and correct signal paths before powering the system.
Shielded vs. non-shielded cables
Shielded cables reduce the influence of electromagnetic noise by isolating the cable conductors.
Shielding connected to only one side of the cordset provides protection against low-frequency electric fields and shielding connected to both sides provide protection against high-frequency noise depending on cable length.
| Connection point | Cable length | Frequency |
|---|---|---|
| One side | 2 m | < 200 MHz |
| One side | 20 m | < 20 MHz |
| Both sides* | 2 m | > 200 MHz |
| Both sides* | 20 m | > 20 MHz |
*Differences in potential between various machine parts can cause ground loops.