- New products
- Sensors
- The PMD profiler: accurate contour detection for inline quality checks
The PMD profiler: accurate contour detection for inline quality checks
- Inline quality control checks to ensure correct assembly of parts
- Quick set-up without software
- Distance-independent measurement for high tolerance on object positioning
- Immunity to extraneous light – no screening or external illumination required
Improved performance thanks to IO-Link
- Optional contour visualisation via software to simplify the failure analysis
Precise object scan for quality control
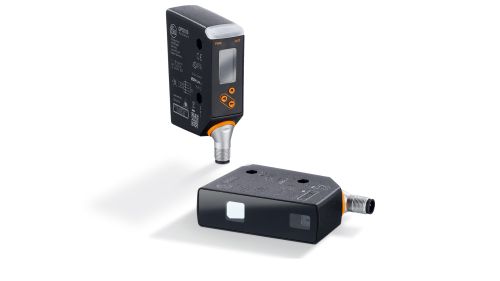
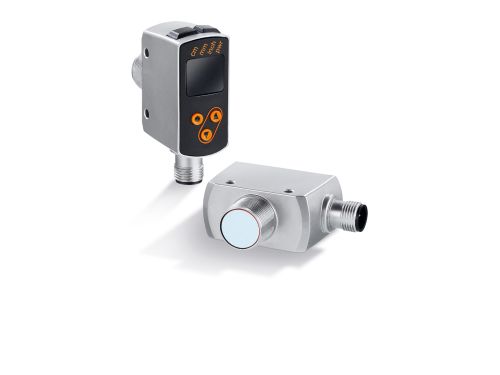
In assembly and handling applications, the profiler does not only verify the presence of an object, but it checks whether the correct component has been used and properly installed. A push of a button is all that is required to compare the contour of an object with the taught target contour stored in the profiler. The photoelectronic line scanner reliably detects tiny differences between nearly identical components. Since the distance is not relevant, the PMD profiler does not require complicated positioning as is the case with 1D sensors. Thanks to the insensitivity to extraneous light, no screening or external illumination is required as is the case with camera systems performing to this high level of accuracy. With its user-friendly colour display and intuitive setting with only 3 pushbuttons, the sensor is ready for use within a few minutes without requiring any software. It is possible to either transmit information on the reject rate or the detected object profiles via IO-Link.

Region of Interest: high degree of accuracy
To make the determination of differences between nearly identical components even more reliable, the profile evaluation can be narrowed down to the relevant object area with two markings by using the Region of Interest function. The function can be used in the fixed mode to verify whether the object is accurately positioned. In the floating mode, the contour comparison is variable along the laser line. It is not necessary to position the parts to be tested in exactly the same way.
Quality assurance: definition of tolerances
The similarity between the reference and the target object is provided as a value between 0 and 100 %. The threshold function can be used to define the value from which the reference object is no longer acceptable. Hence, a low tolerance value will guarantee the quality of assemblies that require great accuracy.


